Sunday, 21 December 2008

Easy but impressive......

Open Illustrator and create a new file with any size you want.

Step 1:

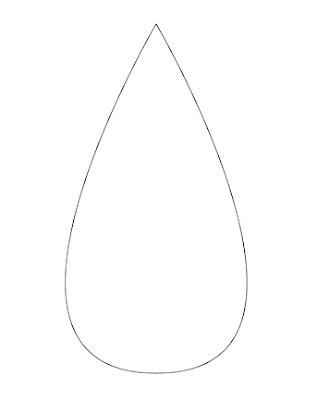
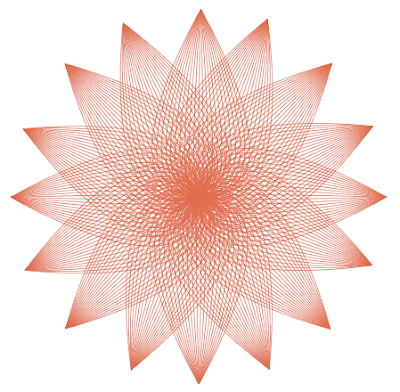
Using Pen Tool (P) to draw a curve, after that duplicate this curve and combine them in a group like:

Step 2:

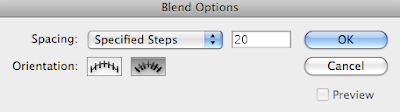
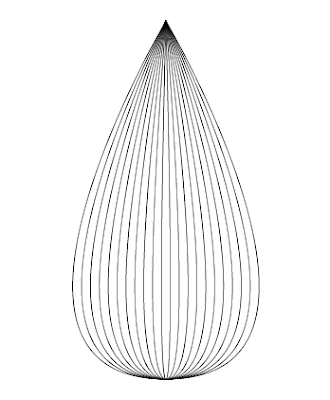
Go to Object -> Blend -> Blend Options and choose 20 for Specified Steps. You will get this:


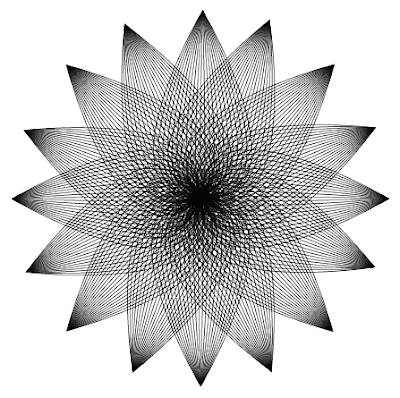
Step 3: Duplicated layer in step 2 and arrange them by different angel and you have:

Step 4: Fill color and this is my work

My Book Cover Design!

There is my book cover design. I had done two version.

Version 1:

Version 2:

I think my book cover is too dazzling because background color is red. After I do it, I think I should use yellow color for more contrast.

However, my bookmark may be a Magaret Smead card to fix with the book cover and more related to each other.

Sunday, 7 December 2008

Cool Background in Photoshop!

Step 1:

Create a new document, with me I choosed 1920pixels x 1200pixels and then filled it with dark color; not black color because it will not effect, and you will got it.
Step 2:

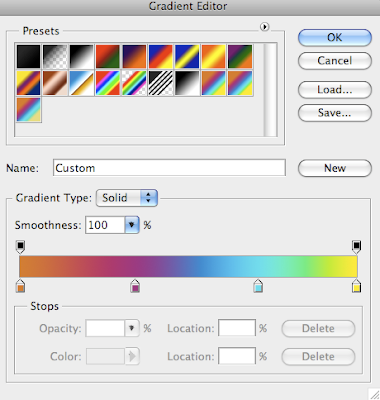
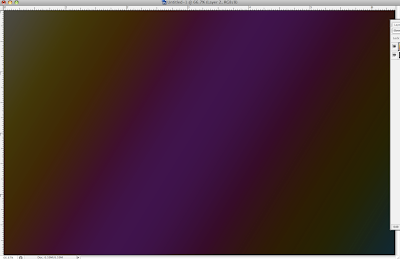
Create a new layer and fill with gradient tool and my gradient setting as follow: blend mode is Overlay, style is linear and angle is 45. You can select a default gradient color in photoshop or create a new one.
Step 3:

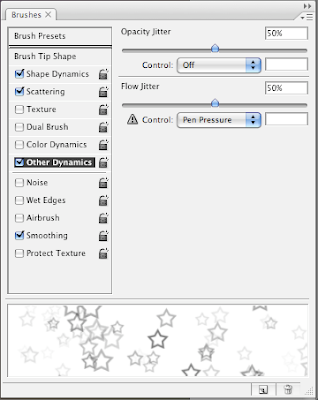
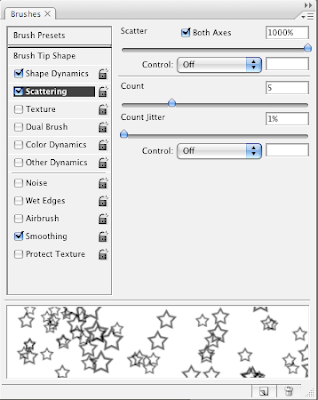
Choosing brush tool and go to brushes palette (fn+F5) and pick up Following Star. The spacing is very important and change the value is 100. Next, select Shape Dynamics, then Scattering and last one is Other Dynamics for the value use images below:


Step 4:

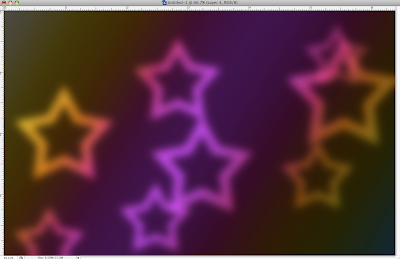
Create a new layer and change Blend mode to Color Dodge, then pick up brush tool and set the color is white and paint some stars. For that time, use big size, like 600-800 pixels. After that, Go to Filter>Blur>Gaussian Blur. For this first layer use 20 pixels for the Radius.
Step 5:

Create a new layer and do the same things with step 4, but now, use a smaller size and go to Filter>Blur>Gaussian Blur. For this first layer use 4 pixels for the Radius.

Step 6:

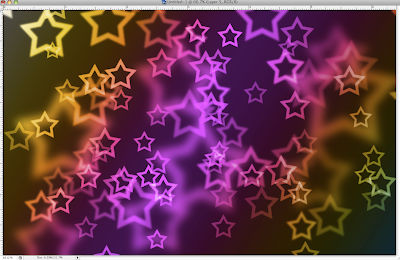
Do the same things with step 4 and 5 and
for this first layer use 1 pixels for the Radius. There is my work and another.


My photomontage!

There is my photomontage for assignment 2A. I used 8 elements to create it. My topic is loneliness to describe a lonely girl after she broke up her boy friend.

I had added some happy couples in my image to compare with her situation at that moment; lonely, empty and so on. This is my work.

Sunday, 30 November 2008

Typography!

There is my home work, and topic is typography. I draw them and scan them. My idea comes from leafs and branches. Finally, I have my typography.

My Layout for my Reasearch Page!

This is my first assignment, I have to choose one designer and write some things about his/her biography, style and so on. Moreover, I also pick up three work of them to critic, it should follow assignment brief in four concepts including Elements, Gestalt, Principles and Typography. After that, I have to layout it like a magazine.

My designer is April Greiman, she was born in 1948 in New York City. She is an American graphic designer innovative work reflects a witty synthesis of Swiss style graphic design, the colors and the multilayered effects made whose highly possible technology. During her life, April Greiman got lost of awards and published many books. She also established her Inc called "Made In Space"!

Finally, there is my work. I think my background is not good.

Sunday, 16 November 2008

Animated buttons with Flash.

In this topic, I do not know "How to post file .swf on www.blogger.com?", so I will post images.