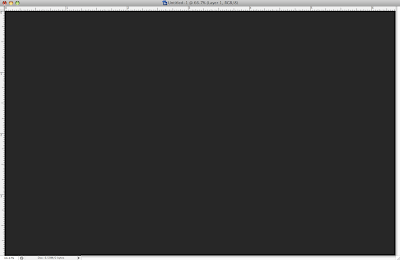
Step 1:
Create a new document, with me I choosed 1920pixels x 1200pixels and then filled it with dark color; not black color because it will not effect, and you will got it.
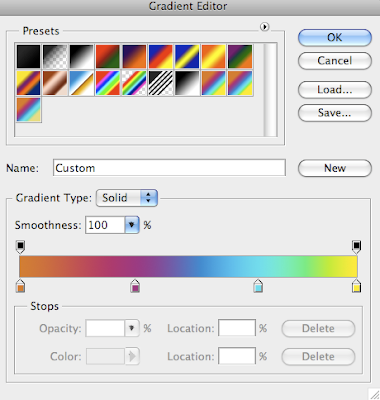
Step 2:
Create a new layer and fill with gradient tool and my gradient setting as follow: blend mode is Overlay, style is linear and angle is 45. You can select a default gradient color in photoshop or create a new one.
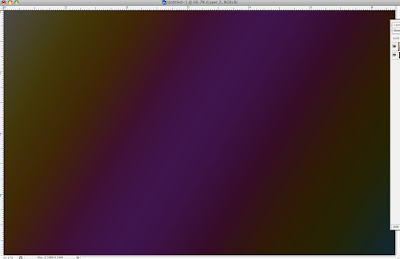
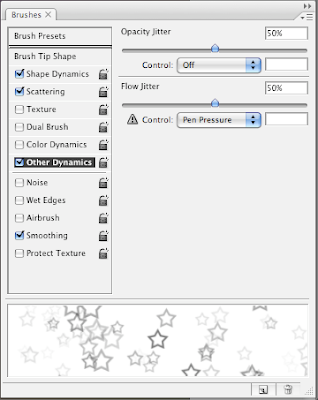
Step 3:
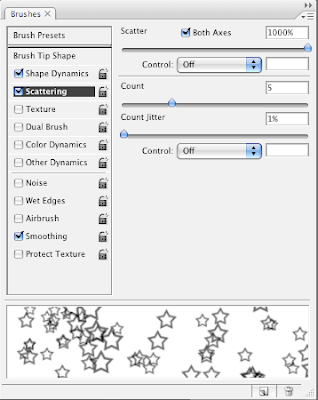
Choosing brush tool and go to brushes palette (fn+F5) and pick up Following Star. The spacing is very important and change the value is 100. Next, select Shape Dynamics, then Scattering and last one is Other Dynamics for the value use images below:
Step 4:
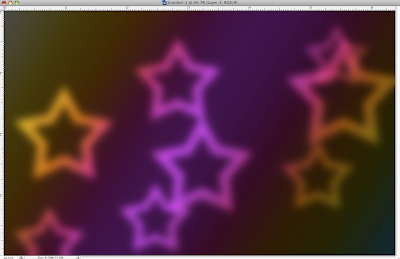
Create a new layer and change Blend mode to Color Dodge, then pick up brush tool and set the color is white and paint some stars. For that time, use big size, like 600-800 pixels. After that, Go to
Filter>Blur>Gaussian Blur. For this first layer use
20 pixels for the Radius.
Step 5:
Create a new layer and do the same things with step 4, but now, use a smaller size and go to
Filter>Blur>Gaussian Blur. For this first layer use
4 pixels for the Radius.
 Step 6:
Do the same things with step 4 and 5 and for this first layer use
1 pixels for the Radius. There is my work and another.

 Finally, reduce fill of layer text to 0% and see the effect:

 Step 3: Use Type tool(T) and type mr.lacastuwet with any font:
 Step 4: Choose layer 1 and Command+click to T square and press Delete. After that right click to layer 1 and choose Blending Options and select Drop Shadow. Finally, see the effect that you had created:
 Step 2:
 Step 3: Duplicated layer in step 2 and arrange them by different angel and you have:

 Version 2:
 I think my book cover is too dazzling because background color is red. After I do it, I think I should use yellow color for more contrast.
 Step 2:
 Step 3:


 Step 5:
 Step 6:


